
Drawing and editing
Everything on this page happens on the map, with the tools in the map toolbar. It applies whether you draw a network from nothing, add to one you imported, or correct geometry a build got wrong. For the properties an asset needs once it exists, see Junctions and the pages beside it.
The tools
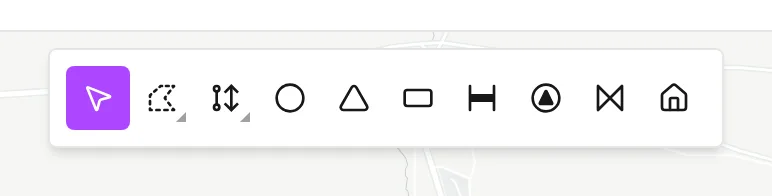
Section titled “The tools”| Tool | Key | What it does |
|---|---|---|
| Select | 1 | Selects and moves assets. The app starts in this tool. |
| Junction | 2 | Places a junction. |
| Reservoir | 3 | Places a reservoir. |
| Tank | 4 | Places a tank. |
| Pipe | 5 | Draws a pipe. |
| Pump | 6 | Draws a pump. |
| Valve | 7 | Draws a valve. |
| Customer point | 8 | Places a customer point. |
A tool stays active until you choose another one. So you can place a run of junctions without a return to the toolbar between them. Esc or 1 returns to Select. On a narrow window the seven drawing tools collapse into one Drawing tools button. See The interface.
The app gives each new asset the next free label for its type: J for
junctions, P for pipes, PU for pumps, V for valves, T for tanks, and R
for reservoirs. The app selects the asset as soon as you draw it. If the asset
is missing something the model needs, the side panel opens on the Asset tab
with the first missing field focused.
Placing a node
Section titled “Placing a node”Click the map with Junction, Reservoir or Tank active. Two clicks are worth knowing about:
- If you click on an existing node, the new tool replaces that node. A junction you click with the Tank tool becomes a tank. It keeps its position, its elevation, its links and its active state. If you turn a junction into a type that cannot have demands, its demands are lost.
- If you click on a pipe, the node lands on the line and the pipe splits in two. See What splitting does.
The app reads the elevation of the node from the terrain at the point you clicked. If Auto-elevations is off, the app leaves the elevation empty and you type the value. See Elevations.
Drawing a pipe, pump or valve
Section titled “Drawing a pipe, pump or valve”You draw links point by point:
- Click to start. On an existing node, the link starts from that node. On a pipe, the app creates a junction there and splits that pipe. On empty ground, the app creates a junction to start from.
- Click to add each vertex.
- Click a node, or a pipe, to end there. Double-click to end in open ground. The double-click creates a junction at the last point.
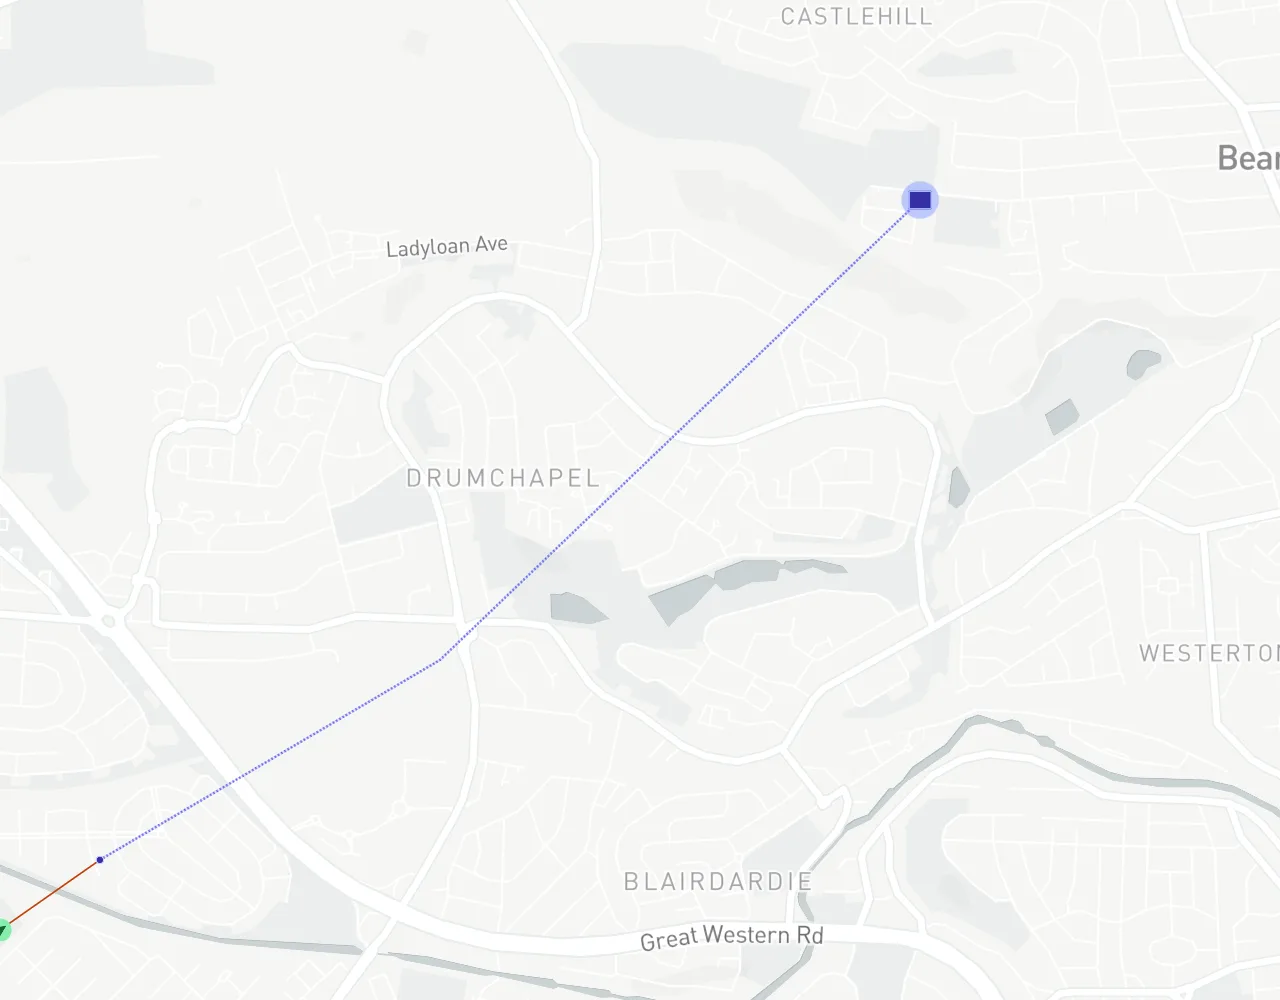
While you draw, the link snaps to nodes and pipes under the pointer. Hold Shift to stop the snap and place a vertex exactly where the pointer is. Hold Ctrl when you click to end the link, and the next link starts from the junction you just created. This is the fastest way to draw a continuous main. A link cannot loop back to the node it started from.
Esc abandons the link you draw. The app adds nothing to the model until the link is finished, so an abandoned link leaves nothing behind.
The pipe defaults strip
Section titled “The pipe defaults strip”With Pipe active, a strip under the tools shows the Diameter and Roughness that new pipes get, in the units of the project. The strip starts at the project defaults. If you change a value, every pipe you draw afterwards takes the new value, for as long as the session lasts.
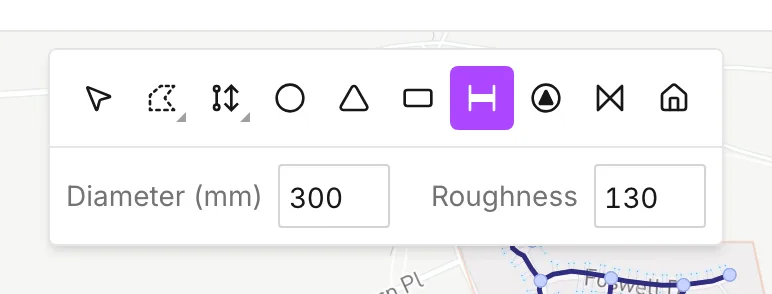
If you clear either field, it stays empty, and pipes you draw then have no value for it at all. This is reasonable while you lay out geometry. But a pipe with no diameter stops the pre-run check. Model attributes in the Network Review panel lists these pipes. See Network review and Pipes.
Moving a node
Section titled “Moving a node”Select a node with Select, then drag it. Its links follow, and the app recalculates their lengths as the node moves. The app reads the elevation again at the new position. You must select the node first. If you drag an asset that is not selected, you pan the map.
Where you drop the node decides what happens:
- On open map, the node moves.
- On another node, the two nodes merge into one.
- On a pipe, the node lands on the line and the pipe splits.
Before you release, the cursor shows which of the three you get. The app refuses a drop onto a node that already shares a link with the node you drag, because the link collapses to nothing.
What merging does
Section titled “What merging does”The node you drop onto is the target. The target decides where the merged node ends up: the survivor takes the position and the elevation of the target. The types of the two nodes decide which one survives:
- If you drop a junction onto a tank or a reservoir, the tank or the reservoir survives.
- In every other pairing, the node you dragged survives.
Links from both nodes end up on the survivor. If both nodes were junctions, the app adds their demands together on the survivor. If only the node that disappears was a junction, its demands go with it. If any of the links now attached to the survivor is active, the survivor is active.
What splitting does
Section titled “What splitting does”Three actions split a pipe: a node drawn on it, a link that starts or ends on it, or a node dropped onto it. A split replaces the pipe with two pipes that meet at the new node.
- The first half keeps the label of the original pipe. The second half gets the next free label.
- Both halves take the diameter, roughness, minor loss, initial status, material, year, reaction coefficients and custom attributes of the original.
- The app recalculates both lengths from the new geometry.
- Customer points connected to the pipe reconnect to the half that is now nearer. The app reallocates them to the nearer junction of that half.
Examine the two halves afterwards. Everything the app copied was a property of the whole original pipe. A minor loss that stood for one fitting now applies on both halves. The app also replaces a length you typed by hand with one measured off the map.
Reshaping and reversing a link
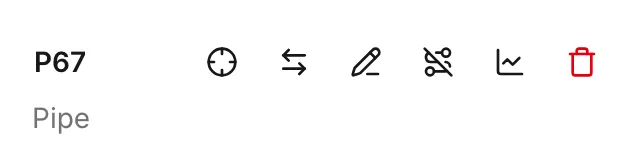
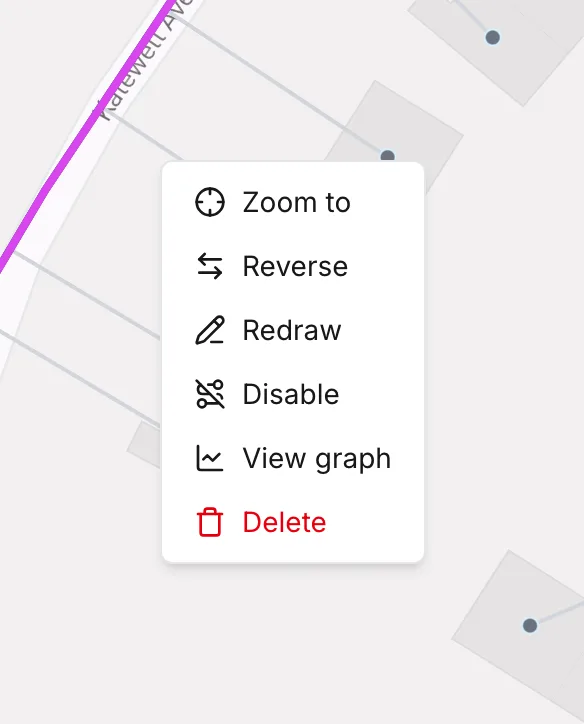
Section titled “Reshaping and reversing a link”With a single pipe, pump or valve selected, two actions appear in the Asset tab header and in the right-click menu:
- Redraw (E) traces a new path for the link. You draw the new line the way you draw a new link, and the app replaces the old geometry. The properties of the link survive, so a pump keeps its curve and a pipe keeps its diameter. The app recalculates its length. If you finish on other nodes, the ends attach to those nodes.
- Reverse (R) swaps the start node and the end node of the link and reverses its vertices. Nothing else changes, but the sign conventions do. A flow that was positive before is negative afterwards. A check valve or a pump now allows flow the other way. If a control refers to the pipe, it still refers to the pipe afterwards. Examine what the control now says.
Undo and redo
Section titled “Undo and redo”Undo and Redo in the toolbar step back and forward through changes to the model. Ctrl+Z and Ctrl+Y do the same. Both first leave the tool you are in, so an undo in the middle of drawing returns you to Select.
One editing action is one step, no matter how much it touched. A merge, a split, or a delete that took a node and six pipes with it each undo in one go. Selecting, panning and zooming are not model changes, so they are not in the history.
When you open a project, the history starts fresh. When you create a scenario, that scenario gets its own history. When you switch between scenarios, the buttons work on the history of the current one. See Scenario work.
- Selecting and finding assets — how you make the selection these actions work on.
- Network review — the checks that find what drawing left behind: orphans, crossings and near-misses.
- Junctions and Pipes — the properties each asset needs before it runs.